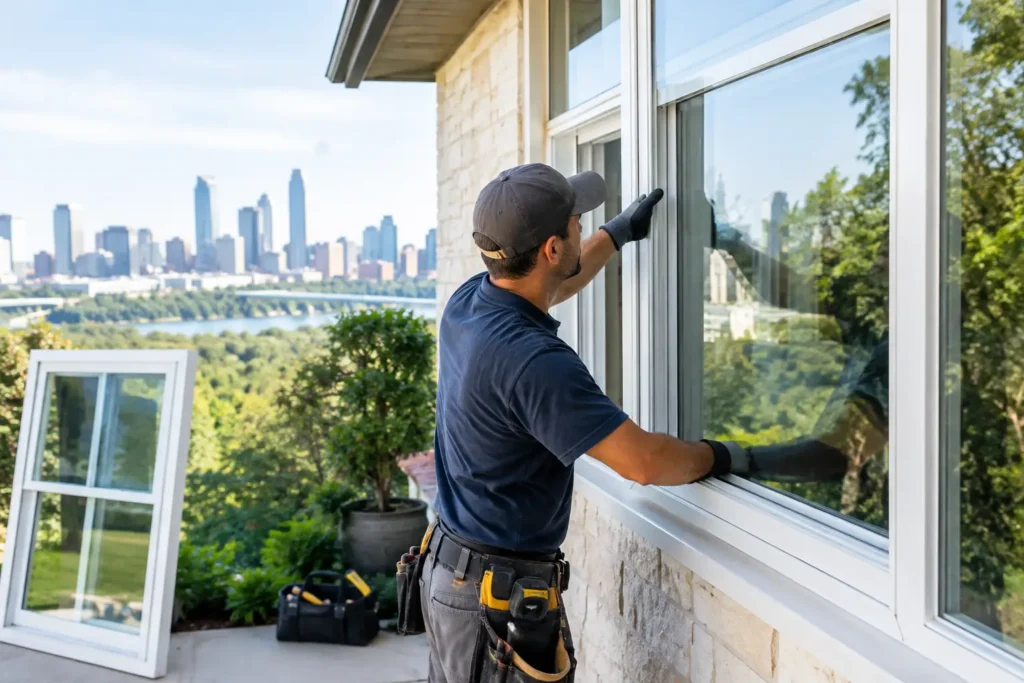
A window that rattles during a summer storm, leaks heat around the frame, or makes one room noticeably hotter than the rest of the house is more than a cosmetic issue. In Central Texas, windows work hard against intense sun, humidity, wind-driven rain, and quick weather changes. This window replacement project guide helps homeowners plan a smart upgrade that looks right, performs well, and supports the way their home is used every day.
Replacing windows is a visible improvement, but the best results come from decisions made well before installation day. The right scope, product, installer, and details around the opening all affect long-term comfort and durability.
Start Your Window Replacement Project Guide With the Why
Before comparing frame colors or glass options, identify what the project needs to solve. A few failed windows may call for targeted replacement. Widespread drafts, fogged glass, difficult operation, and fading finishes can point to a whole-home project.
For many homeowners, the motivation is a combination of comfort and appearance. Older windows may let in too much afternoon heat, make bedrooms difficult to cool, or clash with an updated exterior. A replacement project can also improve curb appeal, reduce outside noise, and make windows easier and safer to operate.
Walk through the house at different times of day. Note rooms that feel hot, areas with visible moisture damage, windows that stick, and views you want to preserve. This assessment helps separate a true performance issue from a simple desire for a new style. It also helps your contractor recommend a scope that fits the home rather than selling a one-size-fits-all package.
Decide Between Full-Frame and Insert Replacement
The installation method matters as much as the new window itself. Insert replacement, sometimes called a pocket installation, places a new window unit inside an existing frame that is still sound and square. It can be a practical option when the frame has no water damage and the goal is to minimize disruption to exterior siding or interior trim.
Full-frame replacement removes the existing window and frame down to the rough opening. This approach provides a clearer look at the wall condition and allows the installer to address damaged framing, failed flashing, or rot around the opening. It can also be the better choice when changing the size or style of a window, such as converting a small single-hung window into a larger picture window or adding a patio door.
Neither method is automatically better. Insert installation may preserve more existing finishes, while full-frame work offers greater control over waterproofing and structural corrections. A careful site evaluation should drive the recommendation.
Watch for Signs the Opening Needs More Attention
Soft wood, bubbling paint, staining on drywall, cracked trim, or persistent leaks should not be covered up with a new unit. Water management around a window opening is a construction detail, not an accessory. If the surrounding materials have been compromised, repairing the opening before installing the new window protects the investment and helps prevent the same problem from returning.
Choose Window Styles for Daily Living
Style should support both the architecture of the home and the way each room functions. A beautiful window that is difficult to clean or does not provide enough ventilation can become a frustration quickly.
Single-hung and double-hung windows suit many traditional homes and provide a familiar appearance. Double-hung units allow both sashes to move, which can make cleaning and ventilation more convenient. Casement windows crank outward and create a tight seal when closed, making them a strong option for areas where efficiency is a priority. They work especially well over kitchen counters, where reaching a sash may be inconvenient.
Picture windows bring in light and preserve views but do not open. They often work best when paired with operable windows nearby. Sliding windows can be a practical choice for wider openings, while bay and bow windows create architectural interest and can make a room feel larger. For bathrooms, consider privacy glass or a higher placement that brings in daylight without sacrificing comfort.
Keep sightlines in mind. Divided grids, frame thickness, and glass area can change the character of a façade dramatically. A contractor can help you choose a design that complements existing doors, siding, stonework, and trim instead of making the new windows look disconnected from the rest of the home.
Select Materials and Glass for Central Texas Conditions
Vinyl, fiberglass, wood, and composite frames each offer different benefits. Vinyl is widely used for its low maintenance and value. Fiberglass is known for strength and stability through temperature changes. Wood offers a traditional, warm appearance but typically requires more upkeep. Composite options can balance durability with a more substantial look.
The best choice depends on the home’s style, exposure, maintenance expectations, and project goals. For example, a sun-facing wall may benefit from a frame and finish designed to handle prolonged heat, while a historic-inspired home may call for more detailed profiles and trim work.
Glass selection deserves equal attention. Low-emissivity coatings help manage solar heat gain while allowing daylight into the home. Insulated glass units improve thermal performance, and laminated glass can offer added sound reduction or security benefits. In bright Texas sun, the goal is not simply to choose the darkest glass. Overly tinted glass can change interior light and exterior appearance. A balanced package should reduce unwanted heat while keeping rooms comfortable and naturally bright.
Do Not Forget Screens, Hardware, and Trim
These details affect daily satisfaction. Choose screen types that match how you use the windows, especially in rooms where fresh air is welcome during mild weather. Hardware should be durable, easy to operate, and consistent with the home’s finishes. Interior casing and exterior trim should be planned as part of the project, not treated as an afterthought.
Prepare the House and the Project Schedule
A well-managed replacement project begins with clear expectations. Before work starts, confirm which windows are being replaced, the selected styles and finishes, how interior and exterior trim will be handled, and who is responsible for painting or touch-ups. If your community has an HOA, review any exterior approval requirements early, particularly if changing frame color, grid patterns, or window configuration.
Lead times can vary by manufacturer, custom sizes, and specialty glass selections. Ordering should happen only after final measurements and design decisions are confirmed. Rushing this stage can create delays or result in products that do not fit the opening correctly.
Inside the home, remove window treatments, wall decor near the work area, and furniture that blocks access. Contractors will use protective coverings, but homeowners can make the process smoother by clearing a path and identifying any areas that need special care. If pets are sensitive to noise or open doorways, arrange a quiet, secure space for them during installation.
What Quality Installation Should Include
A replacement window is only as good as its installation. Proper work begins with accurate measurements and a careful inspection of each opening. The existing unit should be removed without damaging surrounding finishes unnecessarily, and the rough opening should be checked for level, plumb, and square conditions.
From there, the new unit needs to be properly shimmed, fastened, insulated, and sealed. Exterior flashing and sealant details must direct water away from the wall system. Interior gaps should be insulated without overfilling and distorting the frame. The window should open, close, lock, and operate smoothly before trim is completed.
At Oak & Hammer Remodeling, window and door installation is approached as part of the home’s larger exterior and interior system. That matters when a project also involves siding repairs, paint updates, new trim, or changes to nearby doors. Coordinating the work under one experienced remodeling team helps protect the finished appearance and reduces gaps between trades.
Inspect Before the Crew Leaves
A final walkthrough is the time to ask questions, not after the tools are packed away. Open and lock every operable window. Check that screens fit correctly, glass is clean, hardware functions smoothly, and trim lines look consistent. From the exterior, look for neat sealant lines and finished details around the frame.
Ask about cleaning recommendations, warranty registration, and any maintenance specific to the materials you selected. Most modern replacement windows need little ongoing care, but tracks should be kept clear and drainage channels should not be blocked. Avoid abrasive cleaners and follow the manufacturer’s directions for glass coatings and finishes.
A successful window project is not measured only by how the house looks from the street. It is measured on the hottest afternoon, the windiest rainy night, and the quiet morning when every room feels more comfortable. Choose products and installation details with those everyday moments in mind, and the improvement will keep paying off long after the work is complete.